

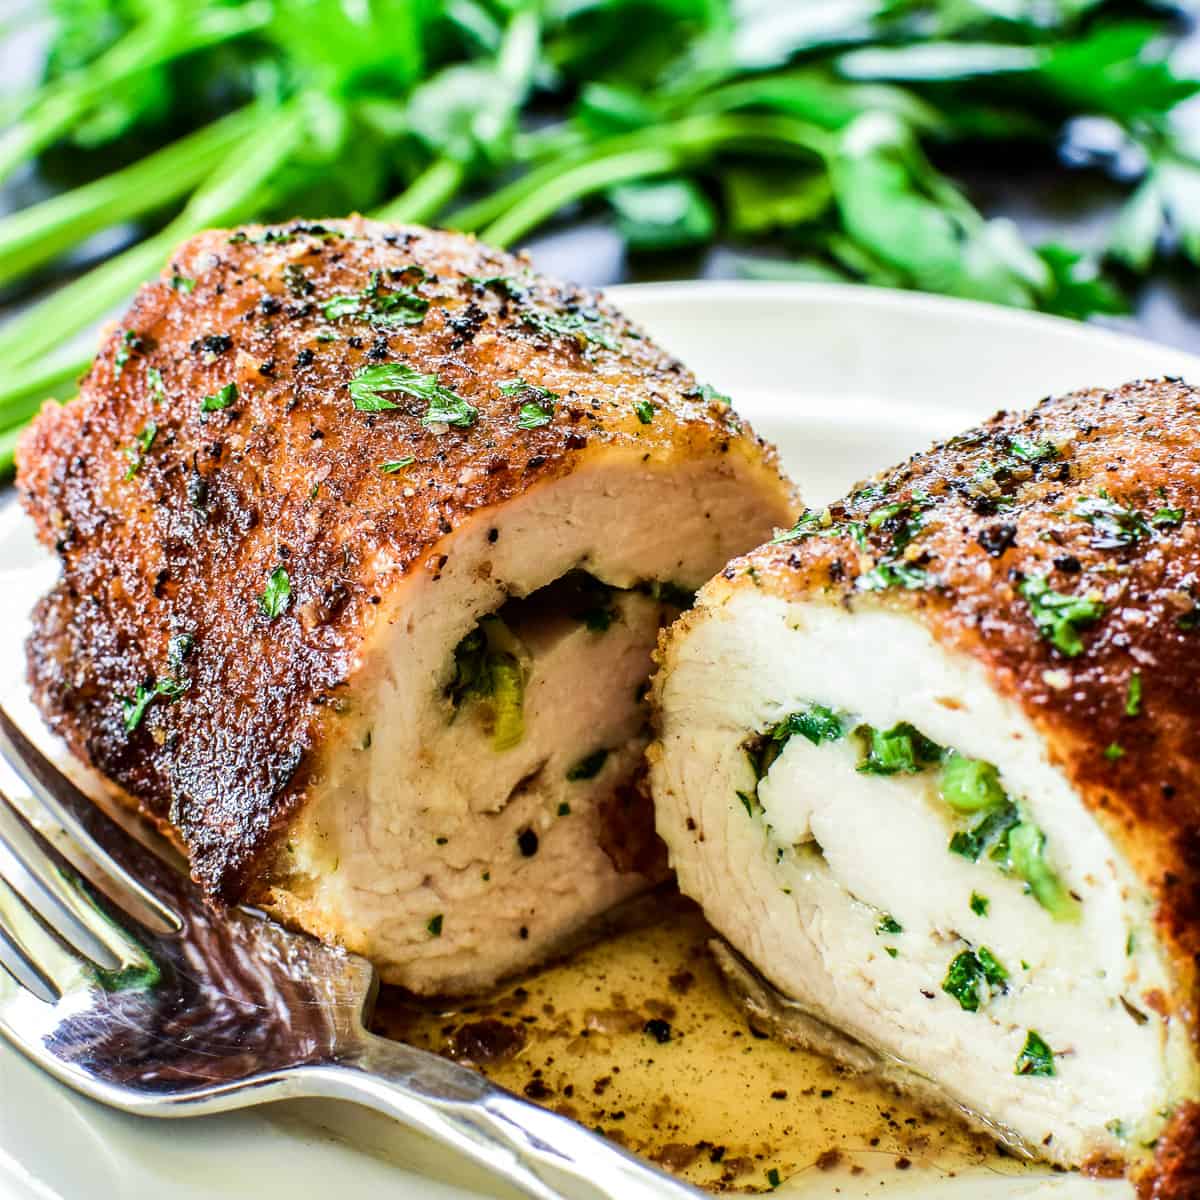
Chicken Kiev is a classic dish that’s both simple and delicious! Made with boneless, skinless chicken breast, fresh minced herbs, garlic, butter, and crispy breadcrumbs… it’s the perfect dish for holidays, date nights, or family dinners!
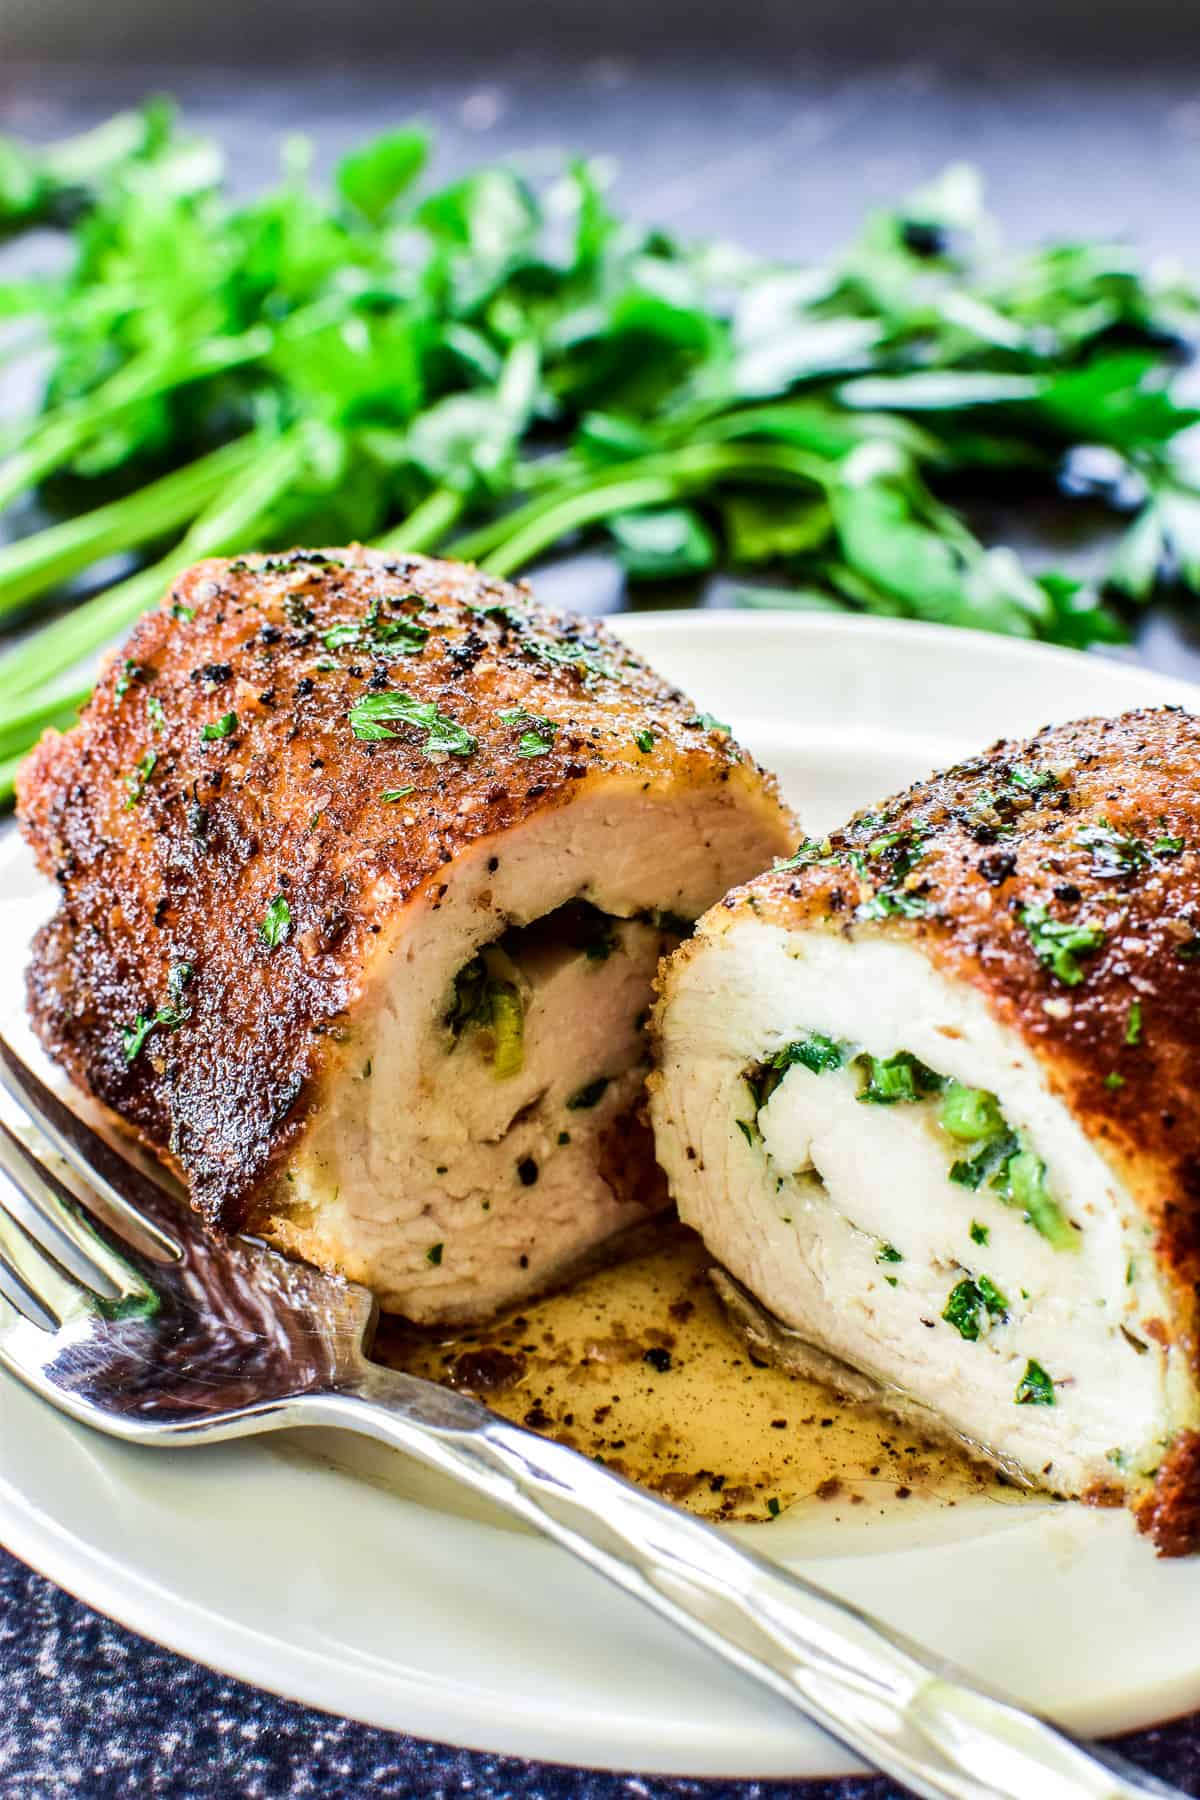
Let’s talk for a minute about Chicken Kiev. It’s one of those dishes I had heard of countless times, but up until recently had never tried. And now that I have? It’s my FAVORITE chicken recipe of all time!
I mean… let’s be serious. You can’t go wrong with tender, juicy chicken breast wrapped around fresh herbs and butter. And when it’s also coated in crispy, buttery breadcrumbs? It’s basically the biggest win ever!
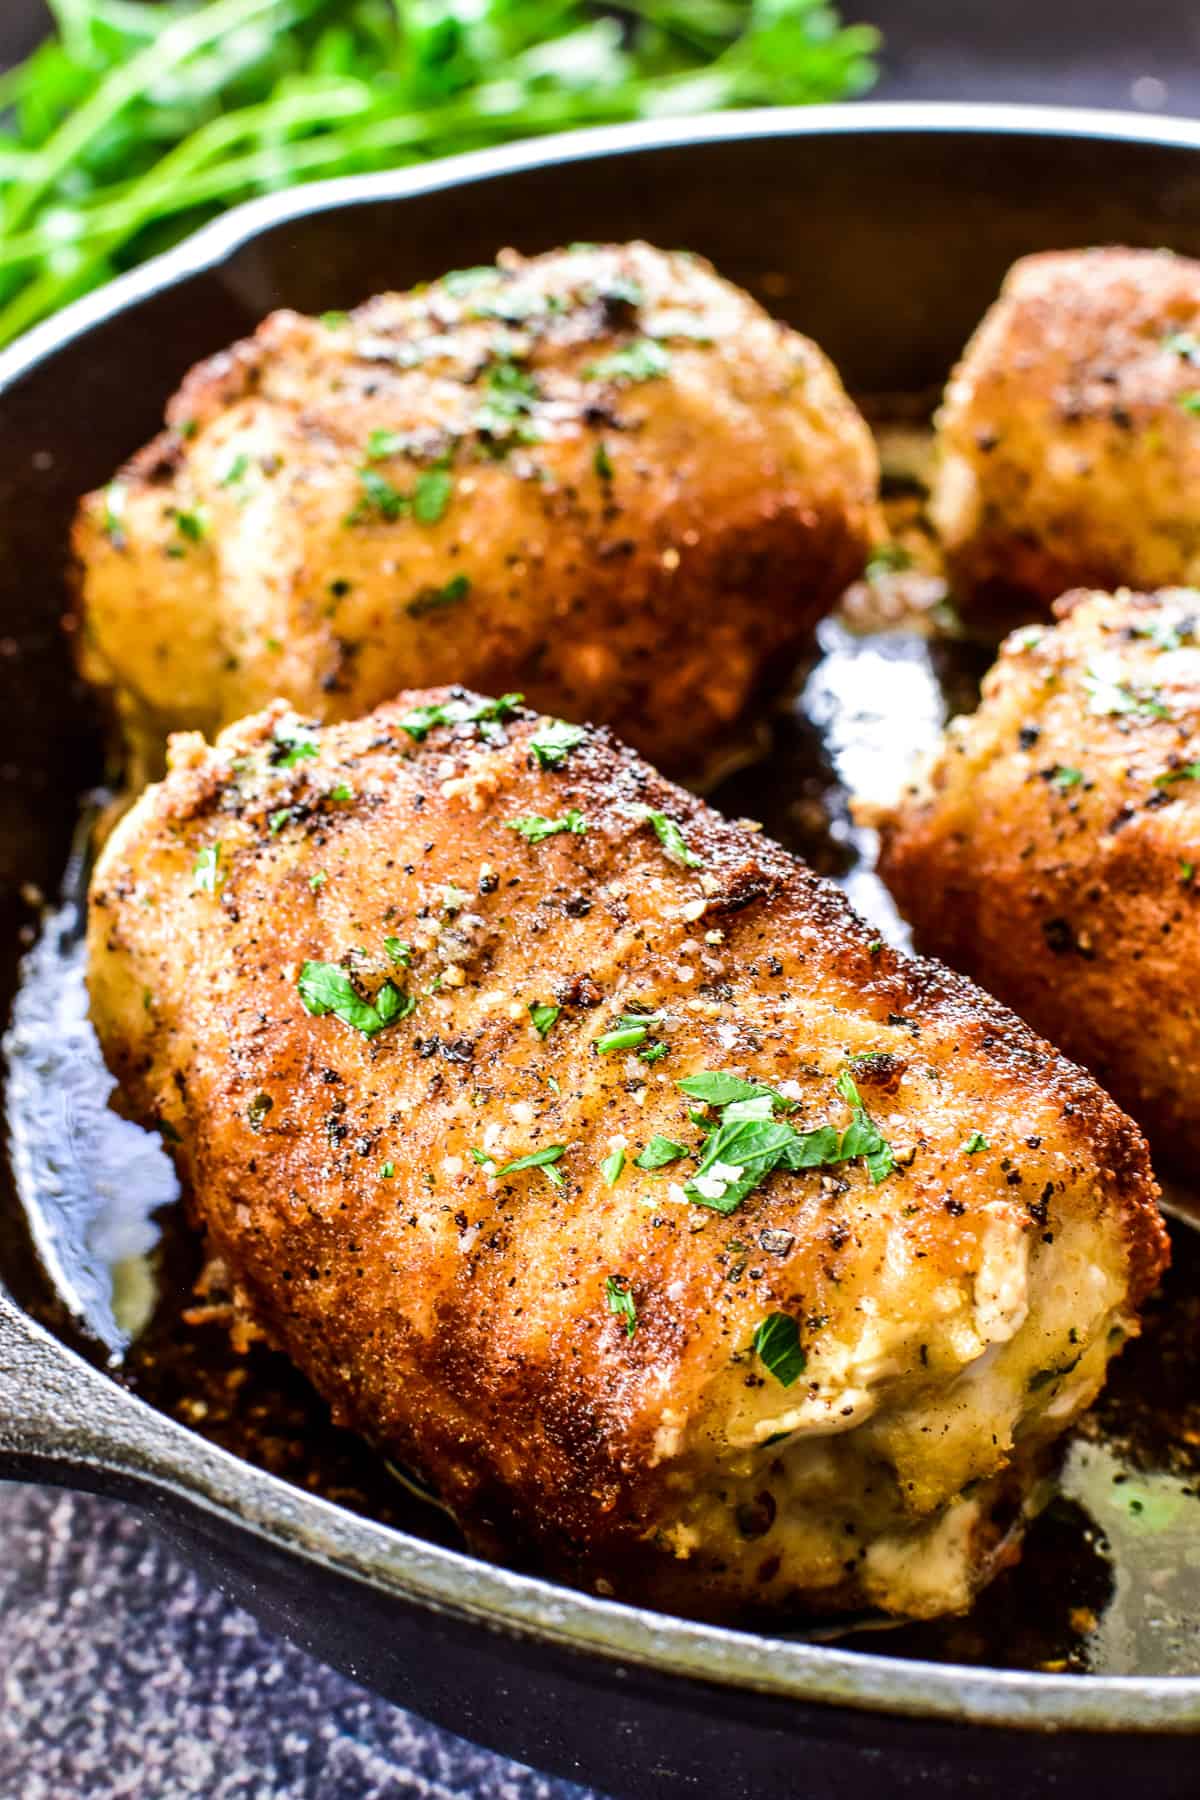
I’m not even exaggerating when I say it’s the BEST chicken I’ve ever tasted. The kind of meal you crave… no matter how many times you make it!
Best of all, it’s one of those dishes that’s easy to make but also feels fancy. You know the type? Which makes it perfect for date holidays, date nights, or any time you want to impress!
[feast_advanced_jump_to]
🌱 Ingredients
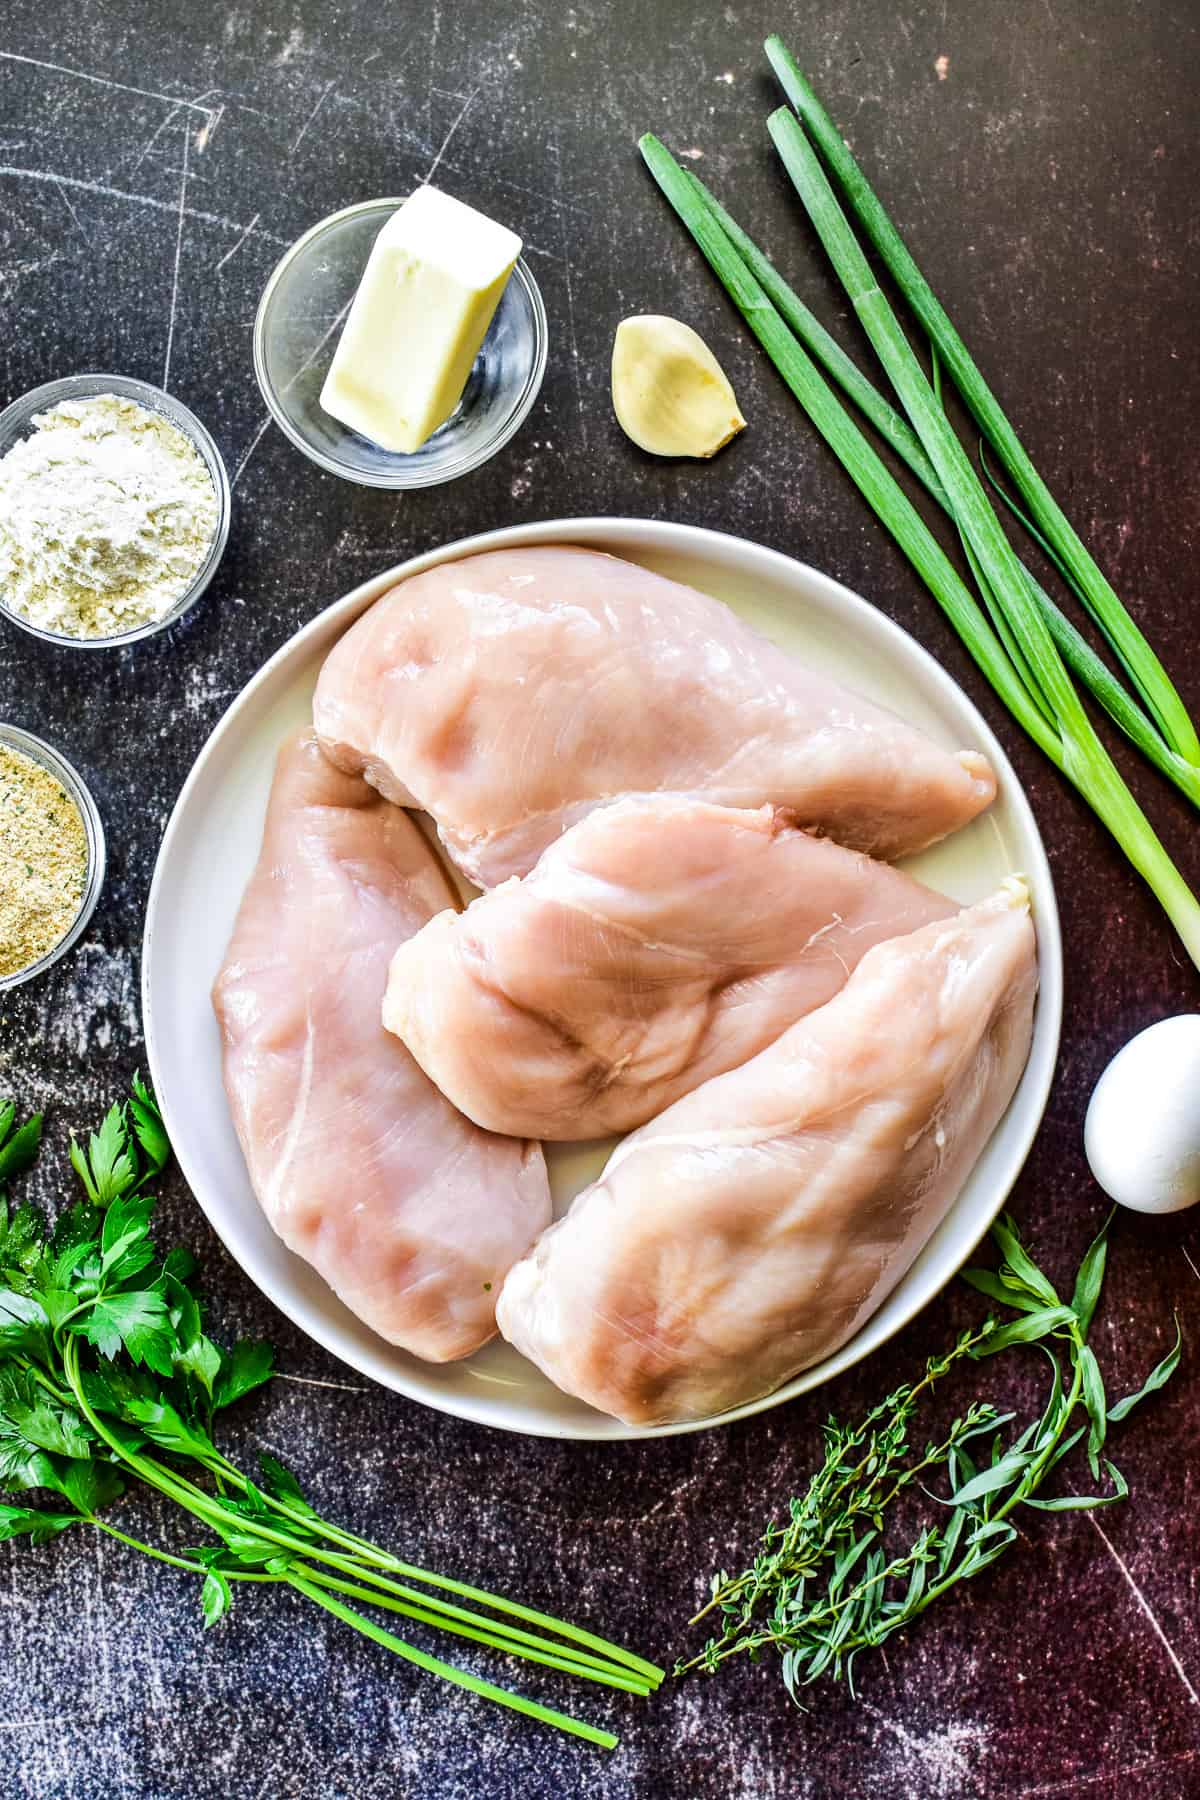
Fresh herbs are the star of the show in this recipe. If you’re going to go to the trouble of making it, definitely use fresh herbs! I used a combination of parsley, tarragon, and thyme… but you can use any combo that you’d like.
- 4 boneless, skinless chicken breasts
- 1/2 stick of cold butter
- 2 Tablespoons fresh minced herbs (I used parsley, tarragon, and thyme)
- 1 Tablespoon chopped green onion
- 1 clove garlic, minced
- 1/4 cup all purpose flour
- 1 large egg
- 1 Tablespoon water
- 1/4 cup Italian seasoned breadcrumbs
- 1 Tablespoon olive oil
- 1 Tablespoon butter
📋 Instructions
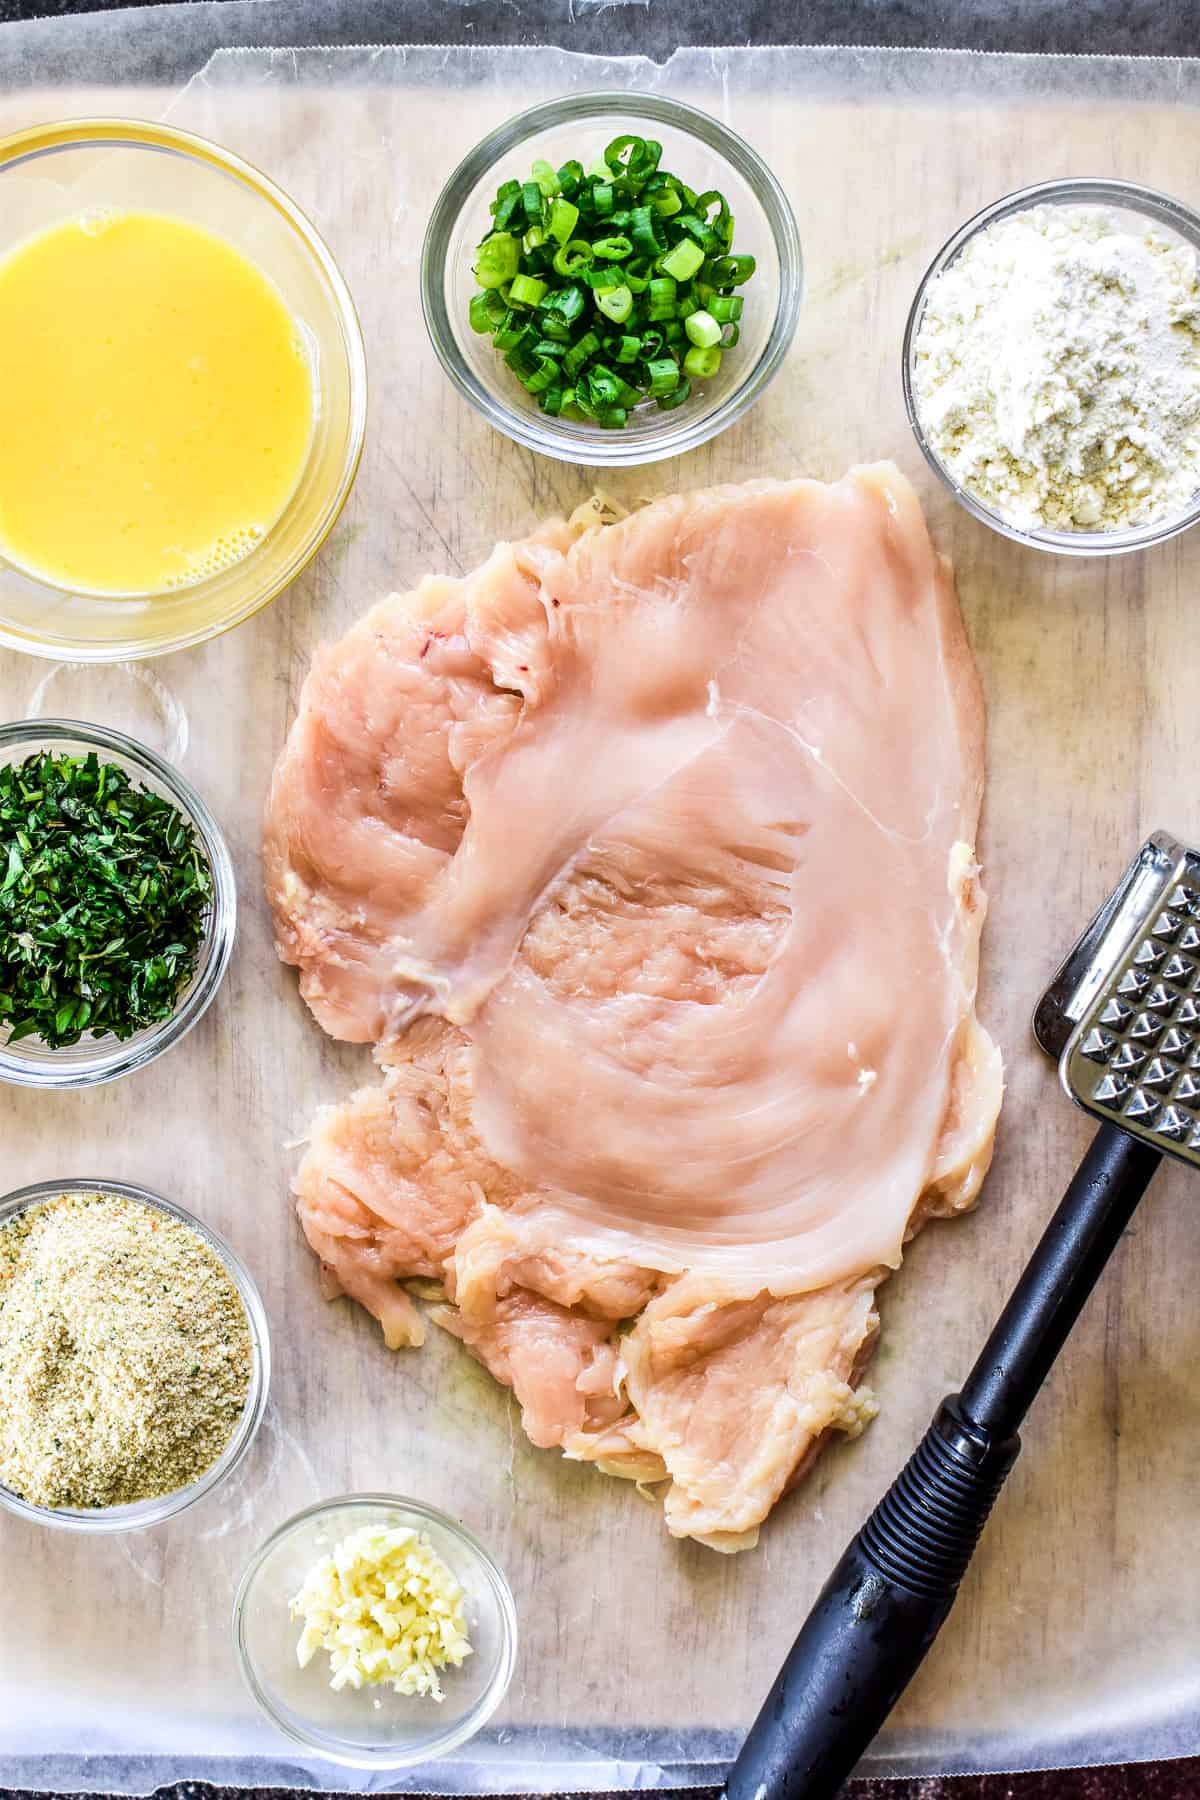
The key to this recipe is to pound the chicken out thin enough that it’s easy to roll up. Definitely aim for 1/8 inch thickness… and keep going until you get there!
- Place chicken between layers of wax paper. Using a meat mallet, pound each breast out to 1/8 inch thick.
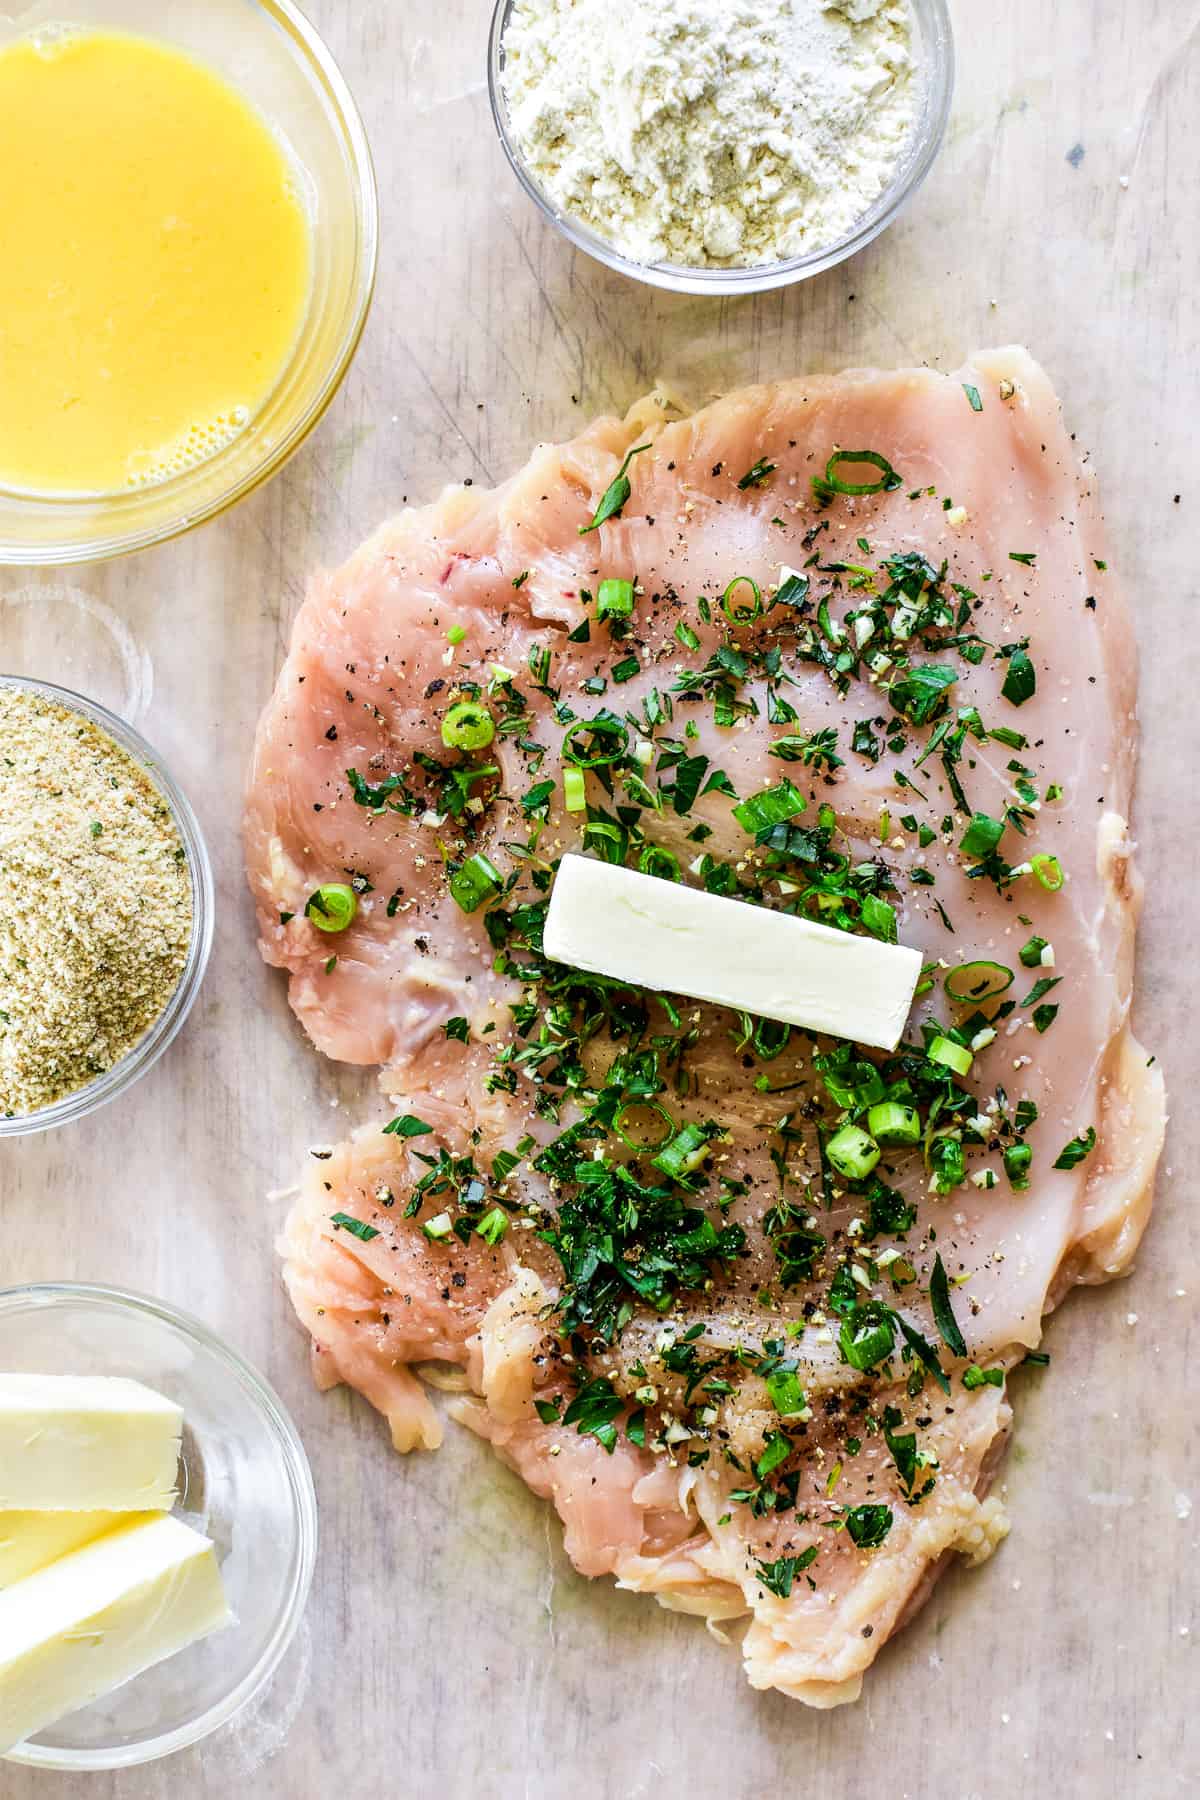
- In a small bowl, combine fresh herbs, chopped green onion, and minced garlic. Sprinkle mixture evenly over flattened chicken breasts and season with salt & pepper.
- Cut butter into fourths lengthwise and place one piece of butter in the middle of each chicken breast.
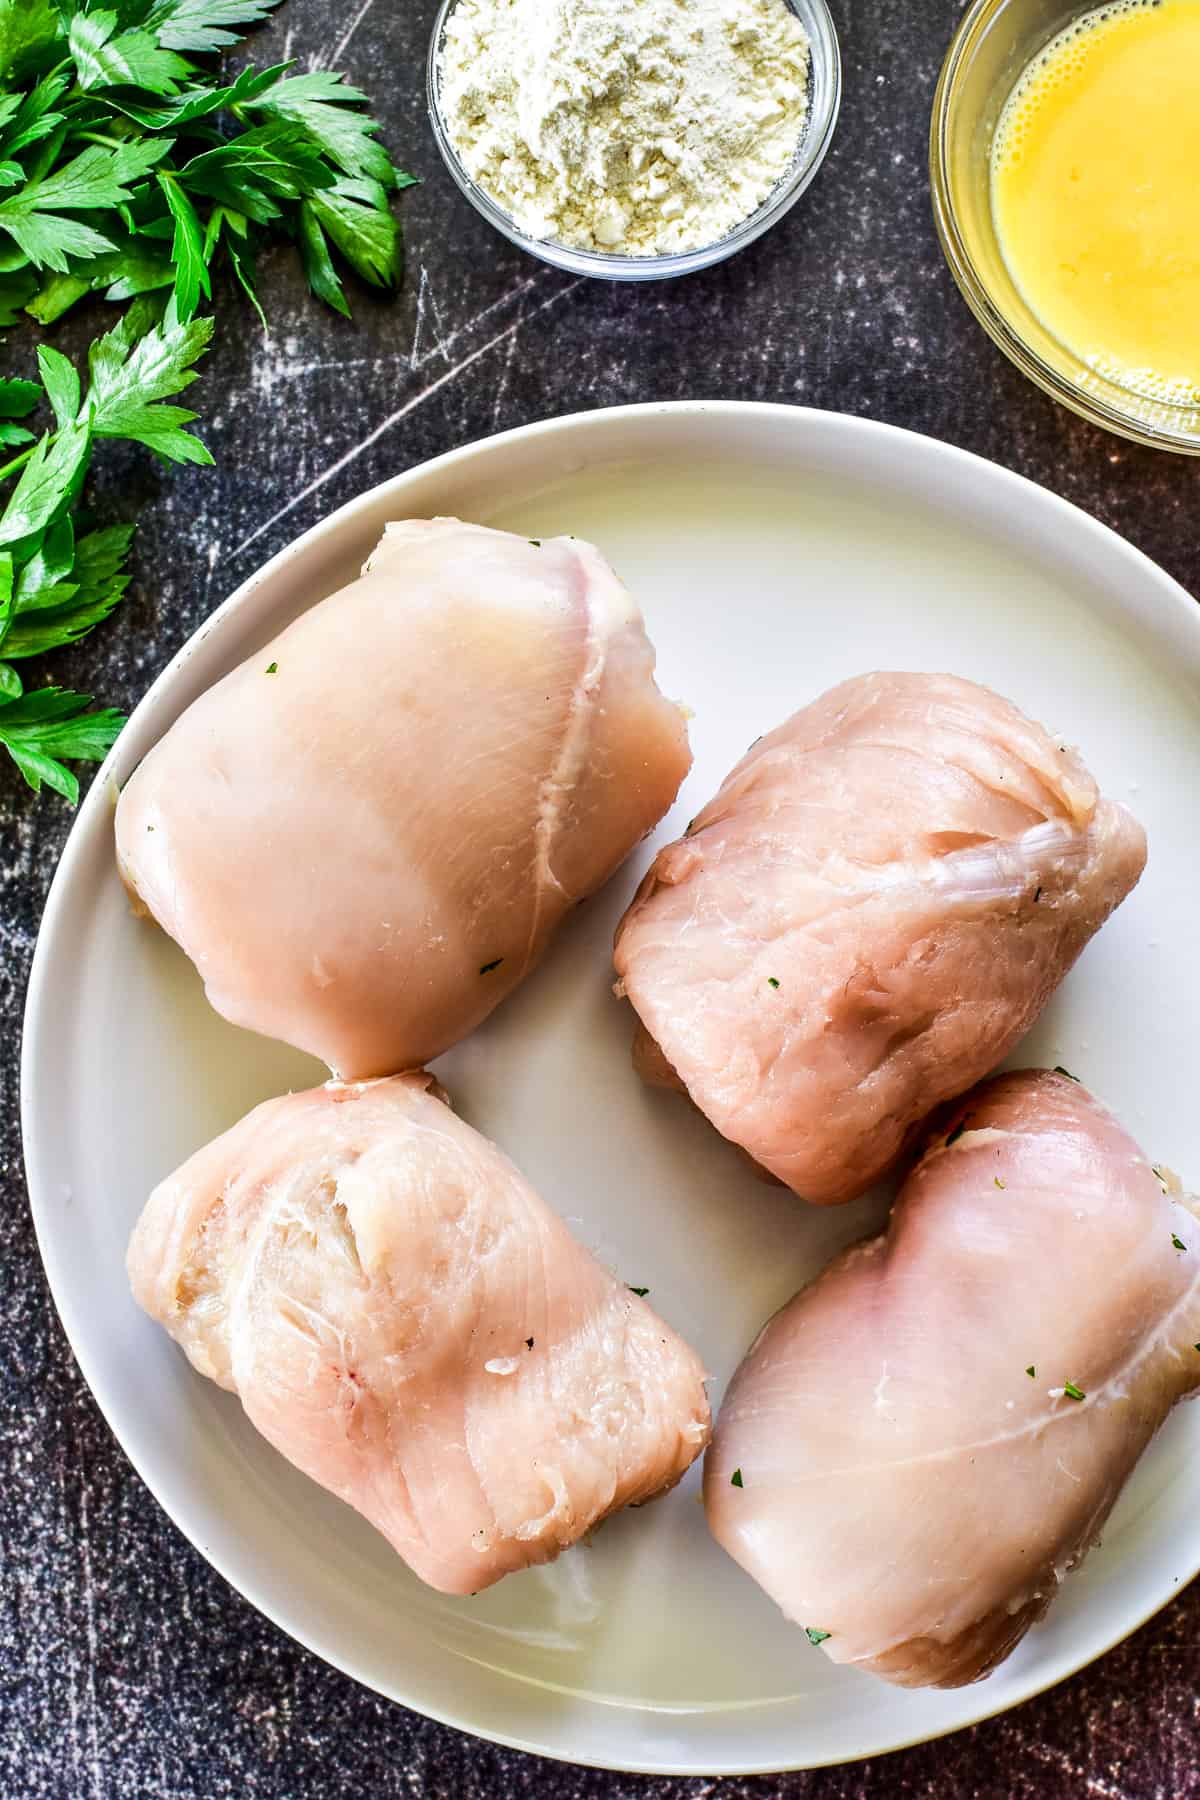
- Fold in the sides, then roll each breast tightly and set on a plate, seam-side down.
- Measure flour, beaten egg + water, and bread crumbs all out into separate bowls.
- Dip chicken in flour to coat, then egg + water mixture, and finally bread crumbs.
- Cover and chill for at least 1 hour or up to 24 hours.
- Remove chicken from refrigerator when ready to use; preheat oven to 400° F.
- In an oven-proof skillet, heat 1 Tablespoon olive oil and 1 Tablespoon butter on medium high.
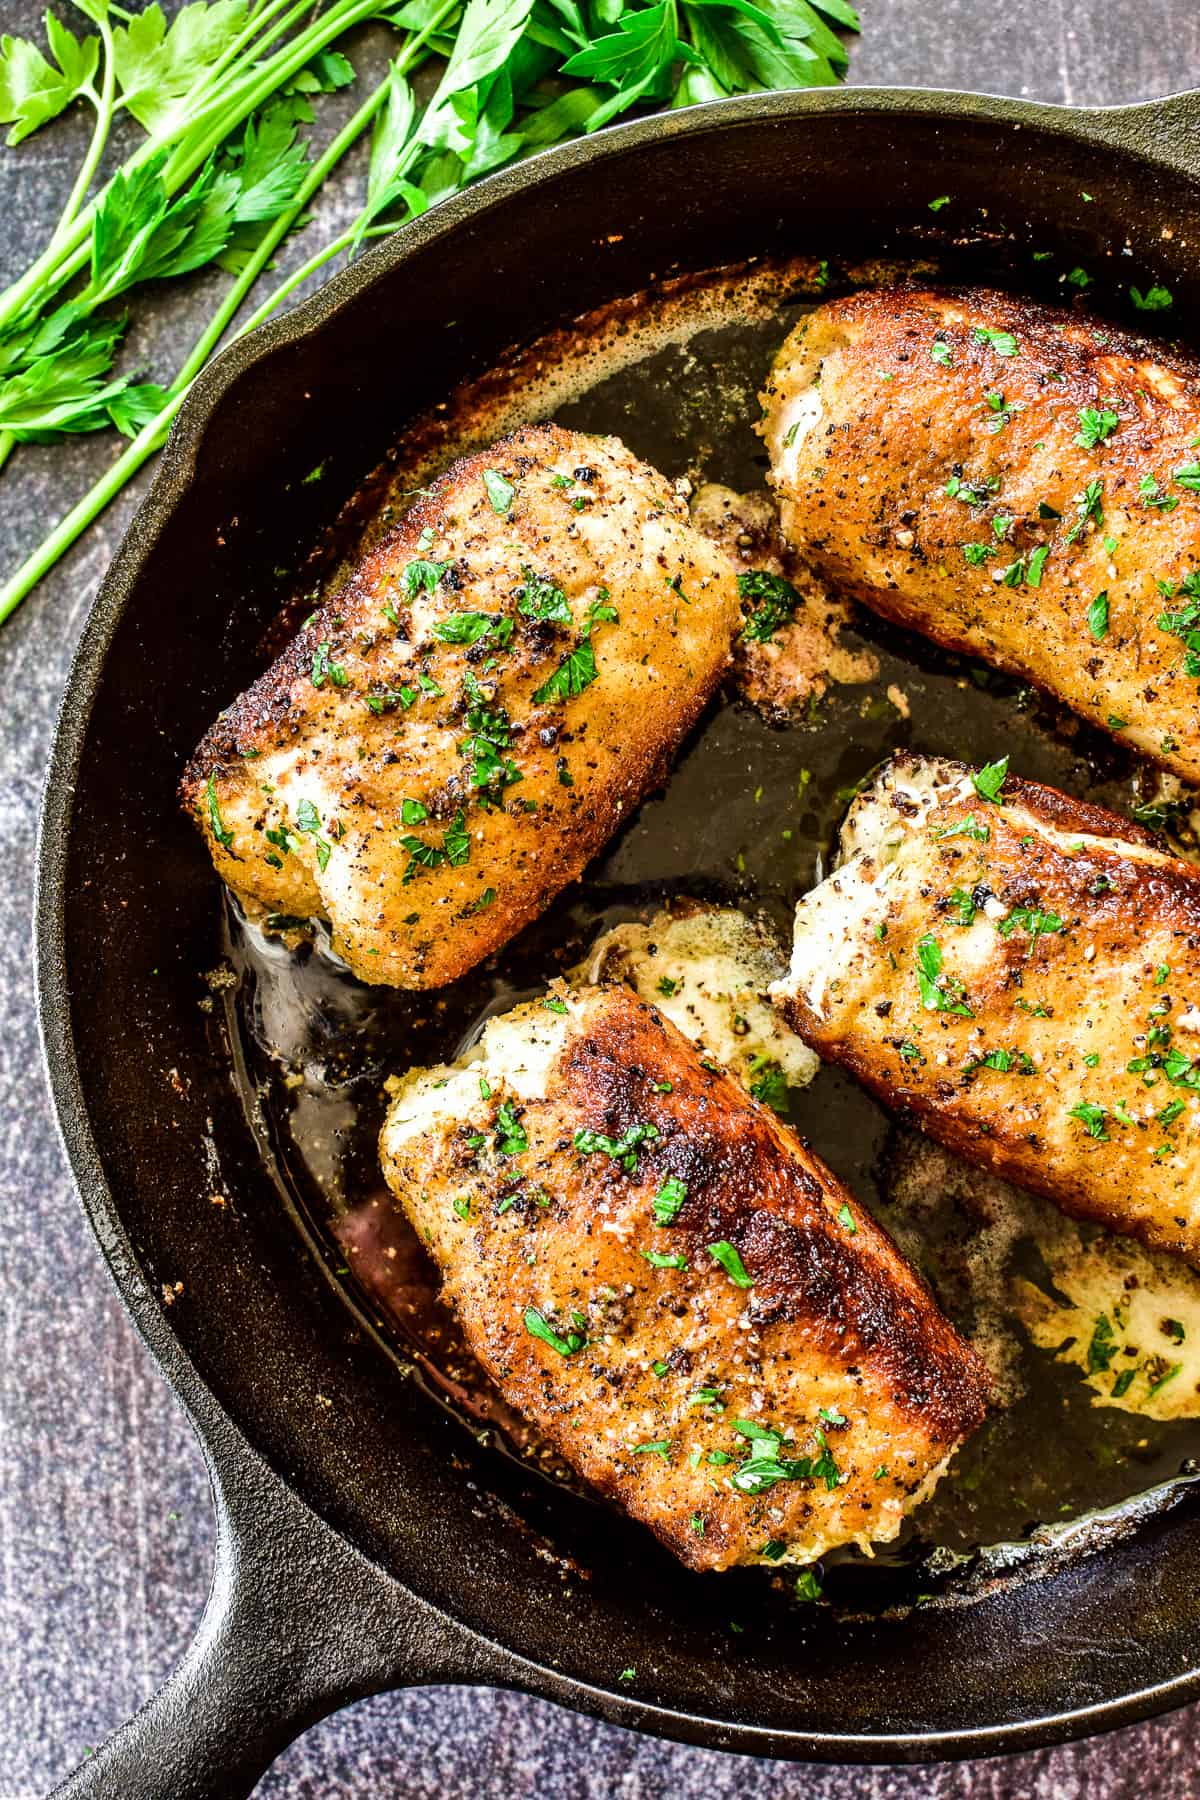
- Add chicken and cook on each side until golden brown (5-10 minutes per side).
- Transfer skillet to pre-heated oven and bake for 18-20 minutes, until chicken is no longer pink inside.
- Spoon drippings from pan over rolls; garnish with additional fresh herbs, salt and pepper.
🧀 Recipe variations
Chicken Kiev is a classic, but that doesn’t mean there aren’t ways to make it even better! Here are some fun ways to mix things up and add some new flavors:
- Substitute any of your favorite fresh herbs, including basil, oregano, rosemary, or sage
- Add shredded or shaved Parmesan cheese to the chicken before rolling or sprinkle on top just before baking
- Add cooked, crumbled bacon to the chicken before rolling
- Wrap chicken in uncooked bacon before transferring to the oven. The bacon will cook while the chicken finishes cooking.
- Use regular, unseasoned breadcrumbs or panko breadcrumbs for extra crunch
- Make mini chicken rollups using pounded chicken tenders
- Adjust garlic & herb amounts according to your tastes
♨️ Storing & reheating
Leftover Chicken Kiev should be stored, covered, in the refrigerator for up to 3-4 days. To reheat, transfer to a skillet over medium heat OR place in the oven at 350° for 10-12 minutes or until heated through.
📍Tips for success
- Choose chicken breasts that are similar in size to ensure even cooking times.
- Be sure to pound chicken out to 1/8 inch thickness. This will make it as tender as possible and so much easier to roll.
- Use fresh herbs! Although it might be tempting to substitute dried herbs, they won’t offer the level of flavor that makes this dish so delicious.
- Use cold butter so it holds its shape inside the chicken.
- Refrigerate rolled up chicken breasts for at least 1 hour. If you’re short on time, stick them in the freezer for 15-20 minutes.
- Use a cast iron skillet or other oven-proof skillet for easy stovetop to oven transfer.
🍗 Related recipes
Love chicken as much as we do? Check out these other delicious chicken recipes!
- Cheesy Pesto Stuffed Chicken
- Chicken Piccata
- Chicken a la King
- Chicken Divan
- Chicken Stroganoff
- Sheet Pan Greek Chicken
- Chicken Rice Casserole
- Sheet Pan Pesto Chicken
Chicken Kiev
Ingredients
- 4 boneless skinless chicken breasts
- 1/2 stick of cold butter
- 2 Tablespoons fresh minced herbs I used parsley, tarragon, and thyme
- 1 Tablespoon chopped green onion
- 1 clove garlic minced
- 1/4 cup all purpose flour
- 1 large egg
- 1 Tablespoon water
- 1/4 cup Italian seasoned breadcrumbs
- 1 Tablespoon olive oil
- 1 Tablespoon butter
Instructions
- Place chicken between layers of wax paper. Using a meat mallet, pound each breast out to 1/8 inch thick.
- In a small bowl, combine fresh herbs, chopped green onion, and minced garlic. Sprinkle mixture evenly over flattened chicken breasts and season with salt & pepper.
- Cut butter into fourths lengthwise and place one piece of butter in the middle of each chicken breast.
- Fold in the sides, then roll each breast tightly and set on a plate, seam-side down.
- Measure flour, beaten egg + water, and bread crumbs all out into separate bowls.
- Dip chicken in flour to coat, then egg + water mixture, and finally bread crumbs.
- Cover and chill for at least 1 hour or up to 24 hours.
- Remove chicken from refrigerator when ready to use; preheat oven to 400° F.
- In an oven-proof skillet, heat 1 Tablespoon olive oil and 1 Tablespoon butter on medium high.
- Add chicken and cook on each side until golden brown (5-10 minutes per side).
- Transfer skillet to pre-heated oven and bake for 18-20 minutes, until chicken is no longer pink inside.
- Spoon drippings from pan over rolls; garnish with additional fresh herbs, salt and pepper.
Notes
- Choose chicken breasts that are similar in size to ensure even cooking times.
- Be sure to pound chicken out to 1/8 inch thickness. This will make it as tender as possible and so much easier to roll.
- Use fresh herbs! Although it might be tempting to substitute dried herbs, they won't offer the level of flavor that makes this dish so delicious.
- Use cold butter so it holds its shape inside the chicken.
- Refrigerate rolled up chicken breasts for at least 1 hour. If you're short on time, stick them in the freezer for 15-20 minutes.
- Use a cast iron skillet or other oven-proof skillet for easy stovetop to oven transfer.
This looks out of this world delicious and I can’t wait to make this! My family is going to love this!
This will without a doubt be added to my weekly rotation of meals!
This Chicken Kiev is looks totally awesome!
This was a huge hit at my house! Such a delicious meal!
Such an amazing chicken recipe! It tastes amazing!
This sounds incredibly delicious!! My family would love it!
Chicken Kiev has always been intimidating to me, but this really makes me want to give is a go!
Wow that was so awesome. Thabk
This was always one of my favorite meals growing up but it was always deep-fried. This version makes me want to make it again. On a side note, leftovers do not need to be reheated: slice it and it makes an awesome sandwich!